01
Say what you see
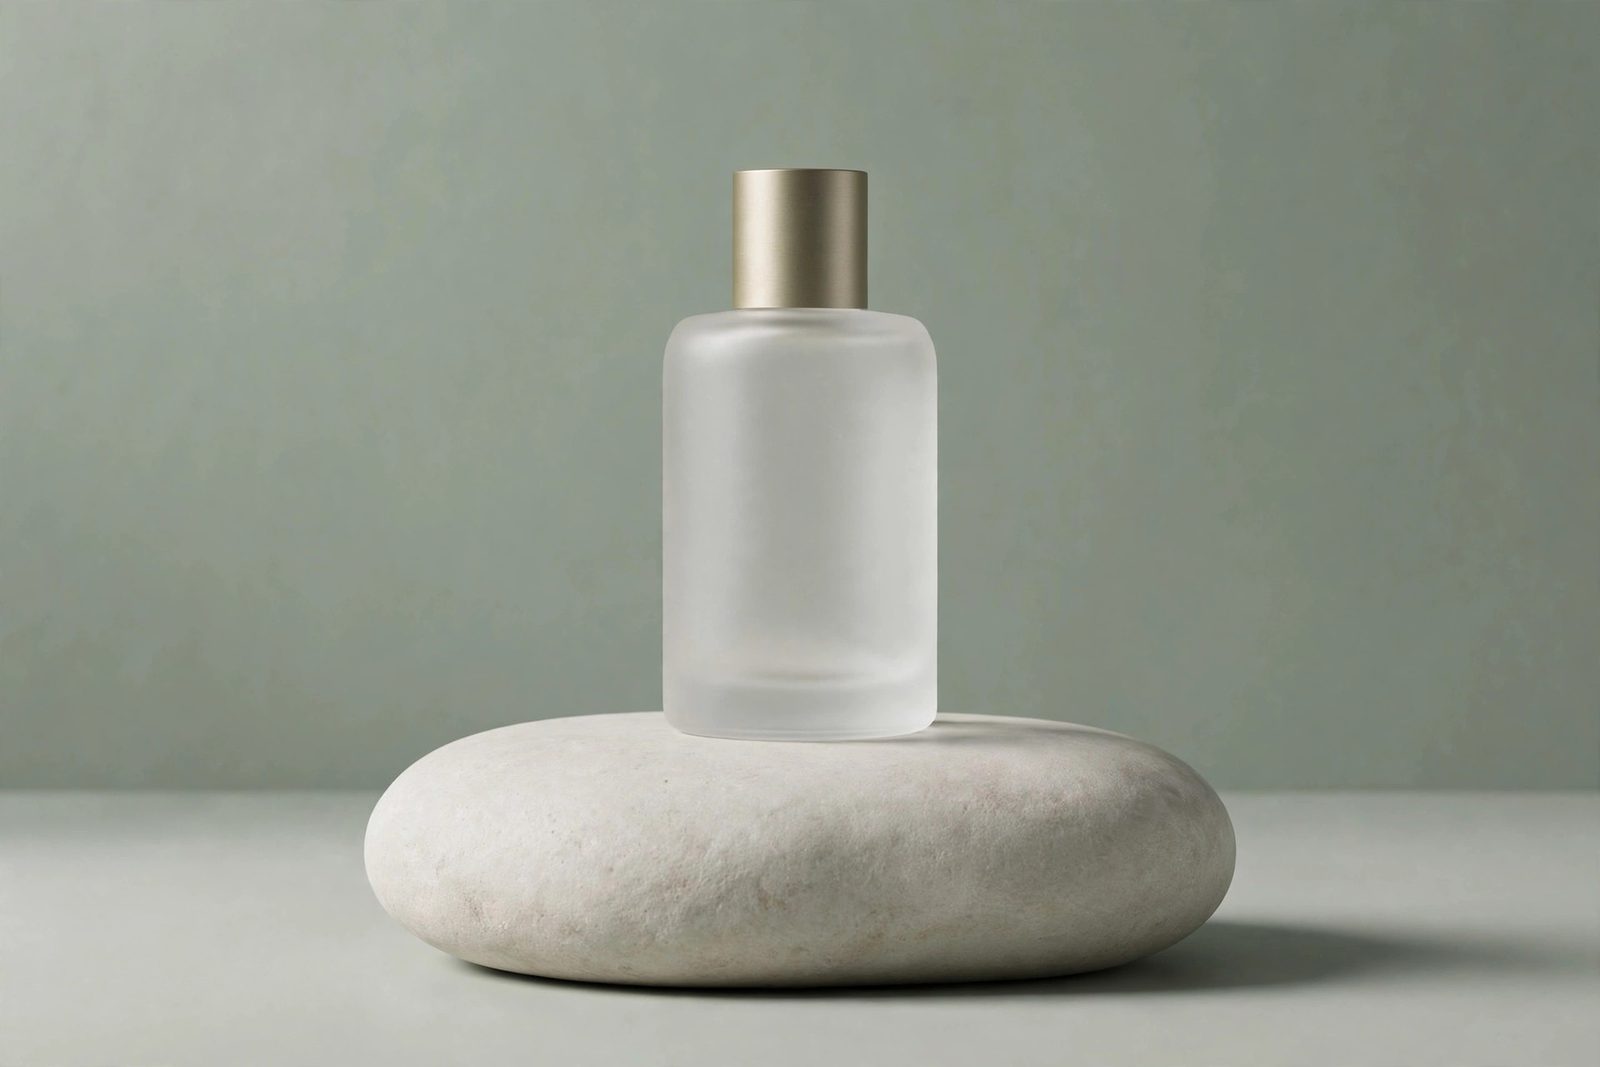
Name the subject, setting and mood: "product photo of a sneaker on a pastel background, soft studio light" beats "nice shoes". Details in, details out.
Three steps to your image — plus tips for better prompts.
No installs, no Photoshop. Everything happens on the model pages: describe what you want, pick a model, generate, download. This page walks through each step and shows how to write prompts that get better results.
Getting started
Open a model page and type what you want to see in the prompt box. Plain sentences work: "a cozy cabin in snowy mountains at dusk". Not sure where to start? Tap one of the example chips to fill the box, then edit it.
Each page is one model. Choose the image size (square, landscape or portrait) and, where offered, the style or mode. Editing a photo? Switch to Edit mode and upload your picture first.
Press Generate. Most images take seconds. Happy with it? Download up to 4K. Want another take? Adjust one detail in the prompt and generate again — small changes, better odds.
Prompt tips
Four habits that make the biggest difference.
Name the subject, setting and mood: "product photo of a sneaker on a pastel background, soft studio light" beats "nice shoes". Details in, details out.
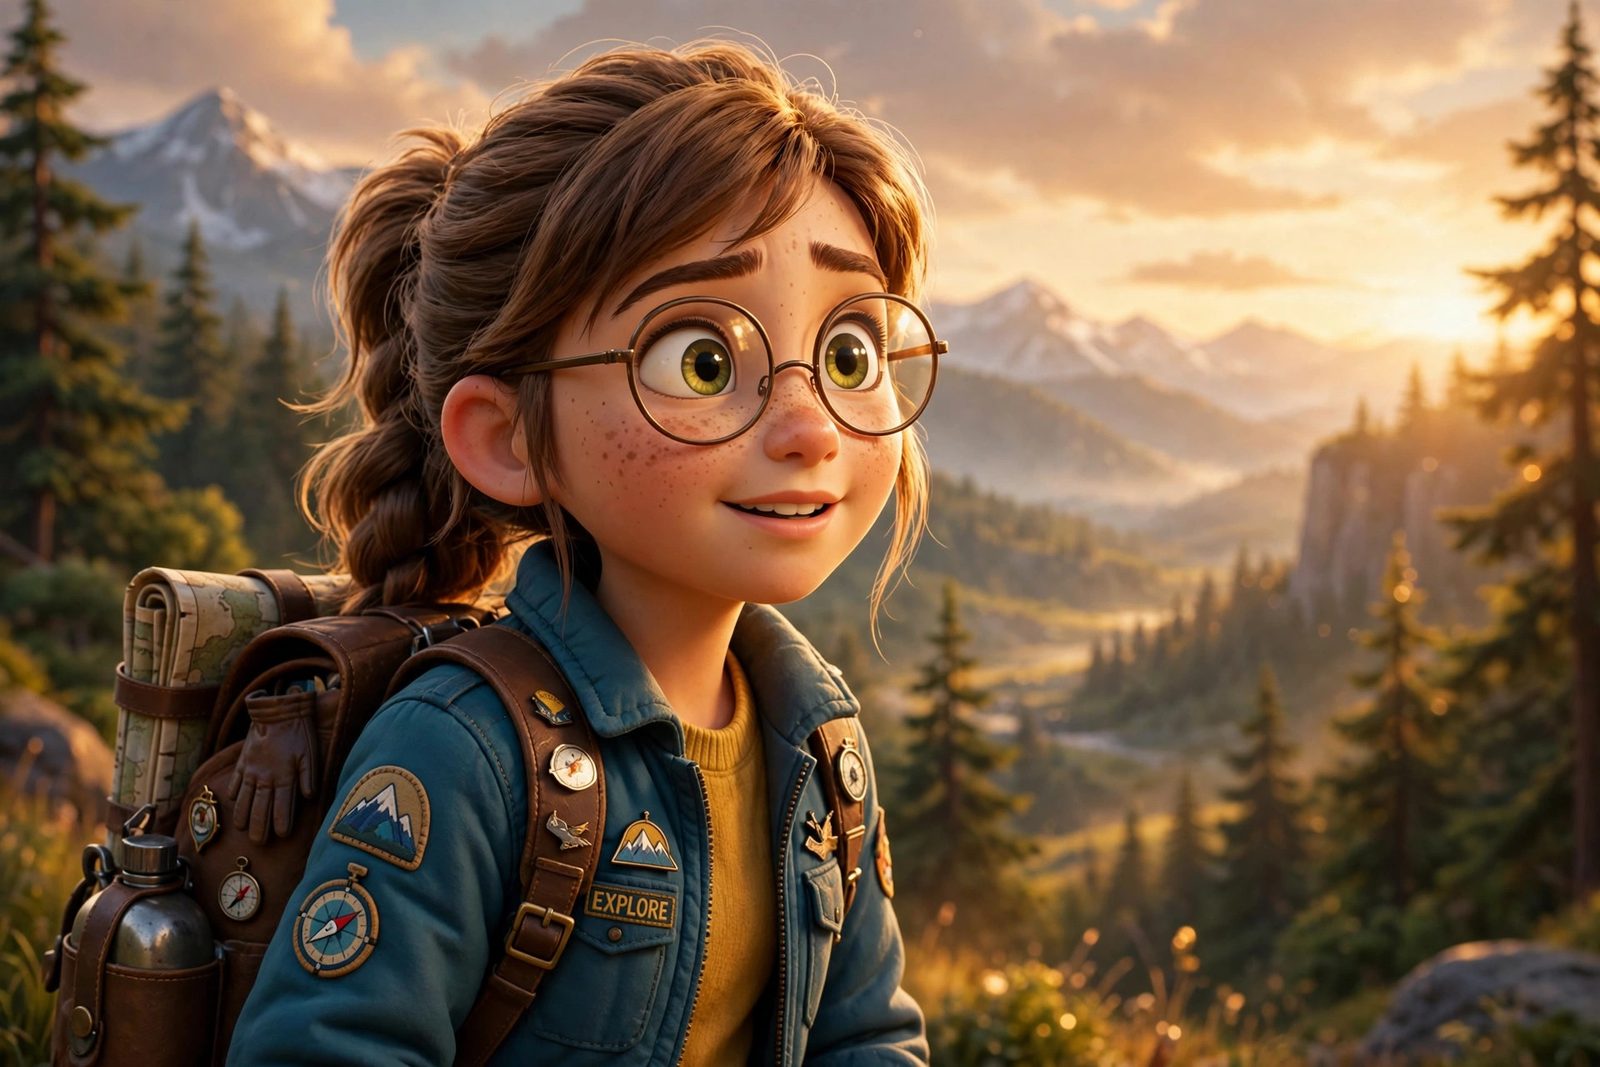
Finish with the look you want: photo, anime, illustration, 3D render, watercolor. One style word anchors the whole image.
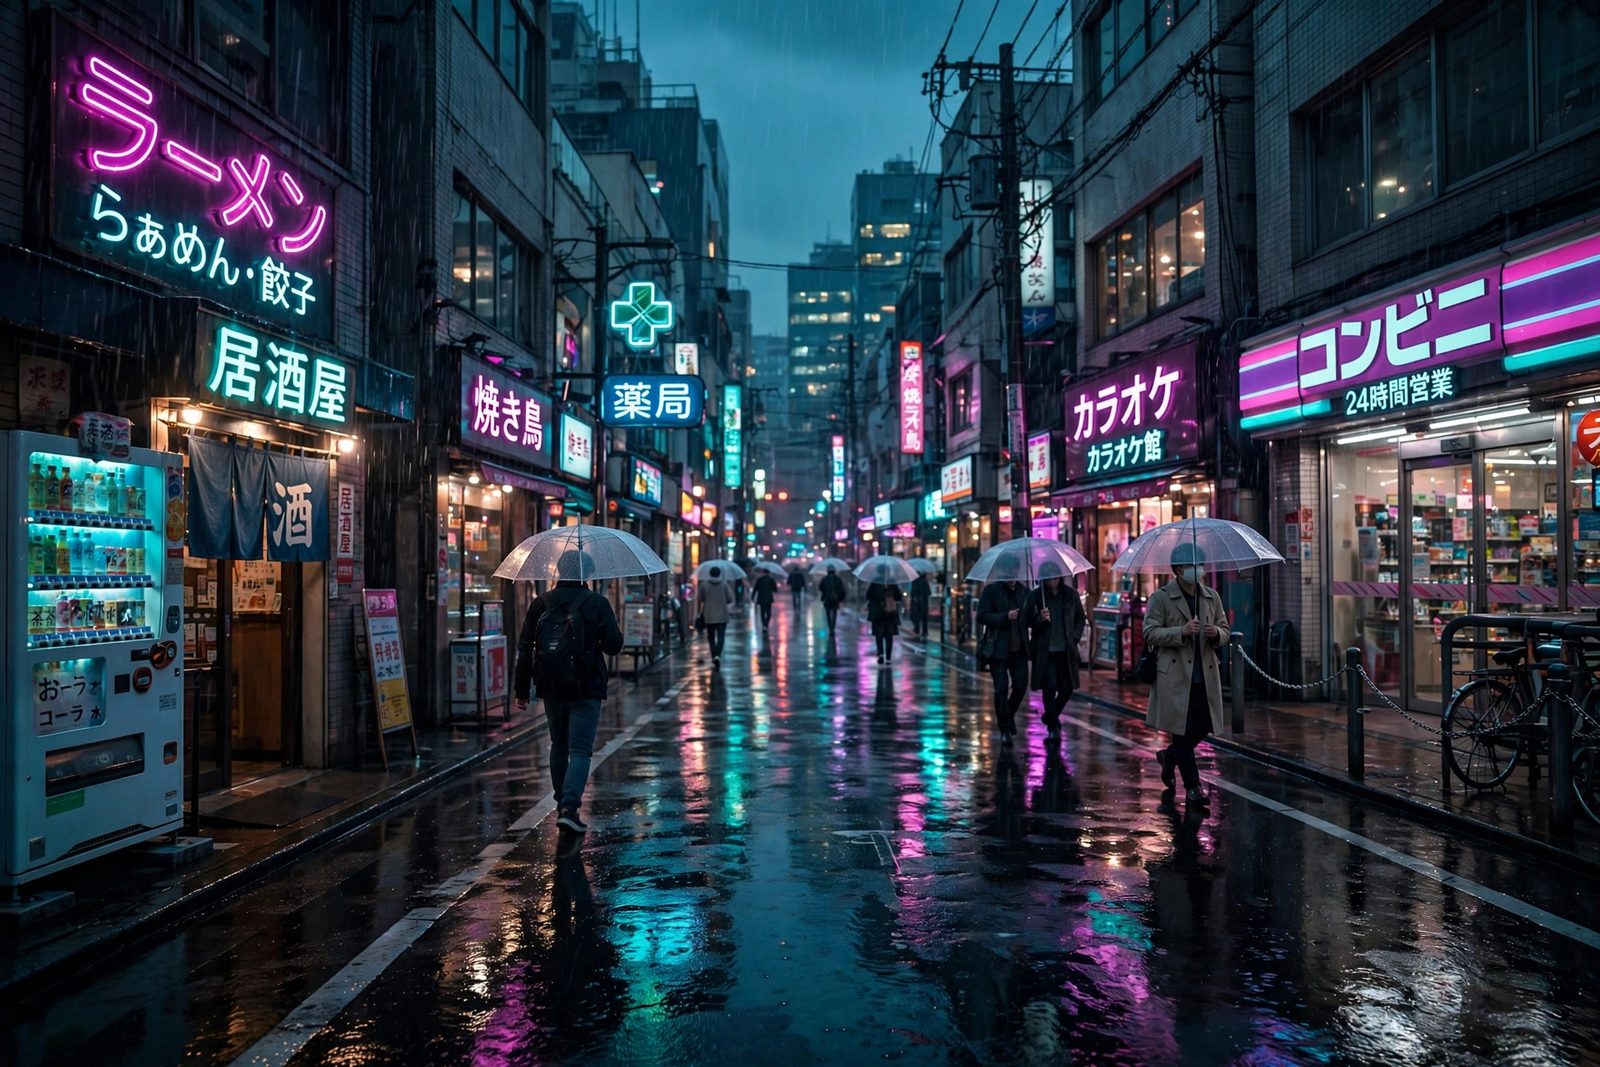
Words inside the image go in quotation marks: a neon sign that says "OPEN". Short text works best — a few words, spelled exactly.
Regenerating with the same prompt gives variations. To fix a result, change one detail per round instead of rewriting everything.
Prompt → result
Every strong result can be read backwards: subject + place + light + style. When your image misses, add the missing piece instead of starting over.
Editing photos
On the Nano Banana 2 page, switch to Edit mode and upload the photo you want to change.
"Make it golden hour", "remove the people in the back", "turn this into a watercolor painting". Faces and details stay consistent.
Each edit builds on the last. Fix one thing per message and the result stays under your control.
Which model?
Posters, covers and product shots — especially anything with text in the image or step-by-step instructions to follow.
Open generator →Editing real photos: background swaps, relighting, outfit changes — while keeping faces consistent.
Open generator →Start on the homepage, look at what each model does, and try the free generations on both pages — same account, same credits.
Browse models →FAQ